 |
|
Ancestor Tree Manager
Free genealogy program for
Windows, Linux and macOS
| Ancestor Tree Manager |
|
Installation on macOS
There are 2 options for installing Ancestor Tree Manager:
- with an installation script
- with a jar file
Installation
- Make sure the correct Java version (see Download page) is installed in /Library/Java
- If ATM is already installed the program must be closed before installing a new version
- Open a Terminal (see Instructions)
- Start the installer:
sudo sh ~/Downloads/AncestorTreeManager-<version>.command
or
sudo java -jar ~/Downloads/AncestorTreeManager-<version>.jar
and press EnterReplace <version> by the actual version number
If the installation file is not in the Downloads folder, replace ~/Downloads with the actual path
- Enter the password and press Enter
- Install ATM preferably in /usr/local/AncestorTreeManager
Problems
If there are problems with the installation, they may be caused by security settings that prevent commands from being executed. See the following links for an explanation and a solution:
https://osxdaily.com/2018/10/09/fix-operation-not-permitted-terminal-error-macos/https://appletoolbox.com/seeing-error-operation-not-permitted-in-macos-mojave
Starting the program
If ATM is installed in the recommended folder /usr/local/AncestorTreeManager, desktop shortcuts are automatically installed in /Applications:
- Ancestor Tree Manager.app
- File Transfer Handler.app
Double-click on a program to start it.
If ATM is installed elsewhere, you can create a desktop shortcut yourself (see below).
Other method:
- With Finder navigate to [installation folder]/bin
- Double-click on AncestorTreeManager.command
How to create a desktop shortcut
This example assumes that ATM is installed in /Applications/AncestorTreeManager.
- Go to folder Applications
 Utilities
 - Open the application Script Editor
- Click button New Document
- Enter the following line of code:
do shell script "/Applications/AncestorTreeManager/bin/AncestorTreeManager.command"
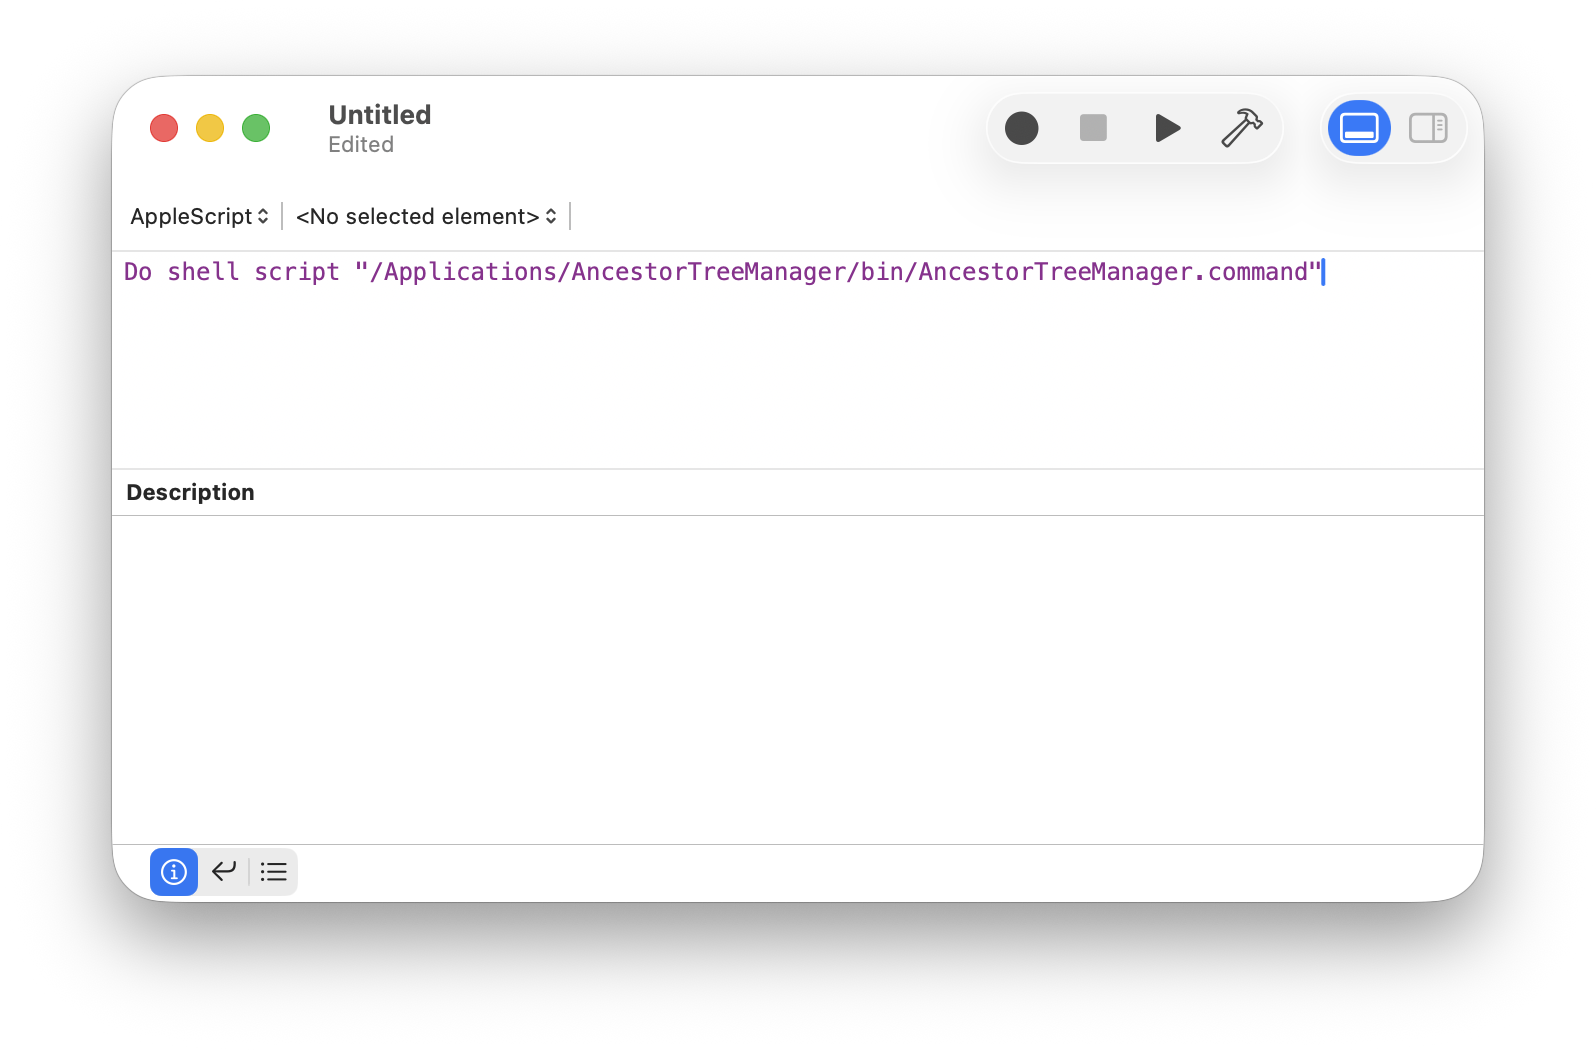
- Click on
 to test the script: Ancestor Tree Manager should start now
 - Close Ancestor Tree Manager
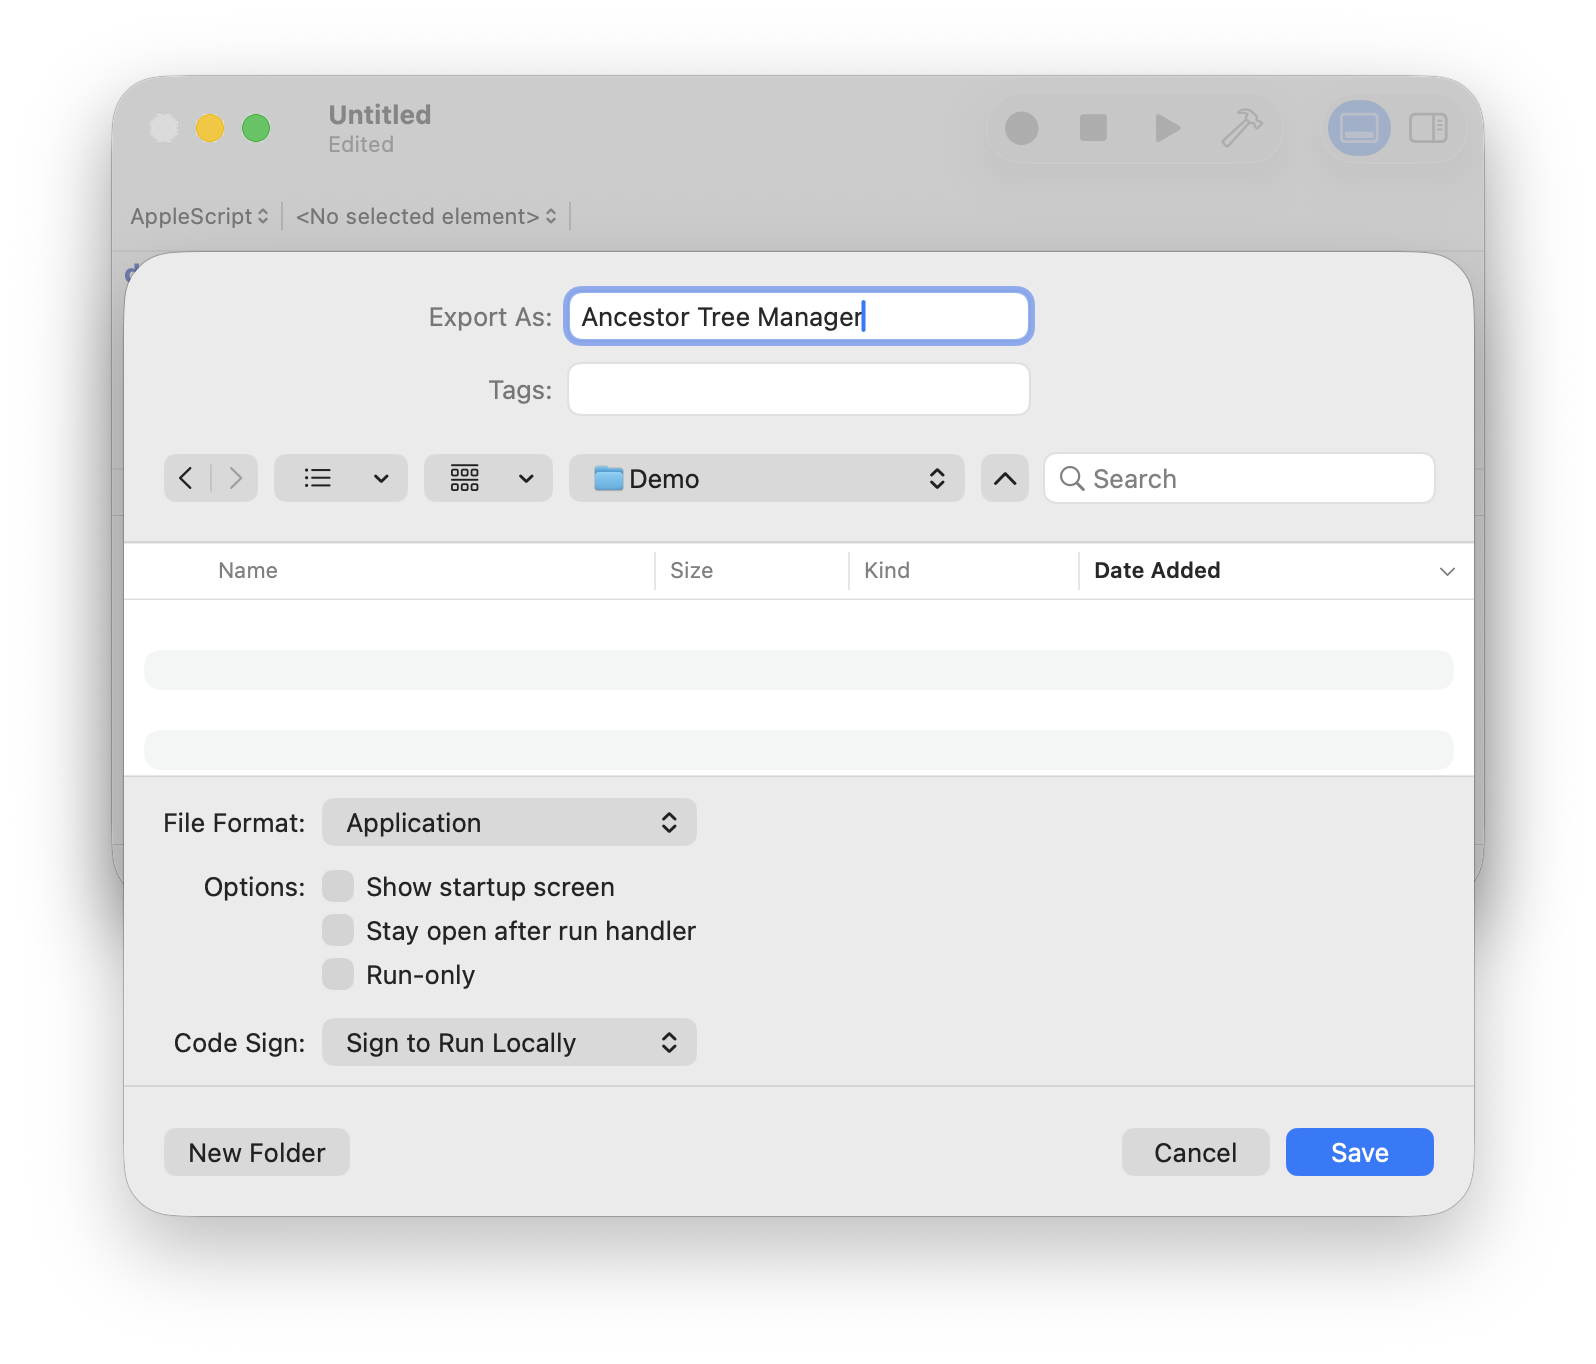
- In the Script Editor select menu-item File Save
- Choose Application as File Format
- Give your script a name e.g. Ancestor Tree Manager
- Click Save and close the Script Editor
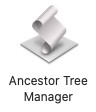
From now on, you can launch Ancestor Tree Manager by double-clicking the script you just created:
How to set an ATM icon to the desktop shortcut
- Right-click on the script
- Information about the script will be displayed
- Leave this window open

- With Finder navigate to [installation folder]/logo
- Drag the file AncestorTreeManager.png onto the icon in the upper left corner of the information window
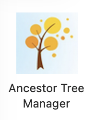
- The icon of Ancestor Tree Manager is now displayed
- Close the information window
- From now on the script will look like this:
Uninstallation
From version 9.2 an Uninstaller is available, located in the program folder.
- Open a Terminal (see Instructions)
- Go to the program folder by entering the following command:
cd /usr/local/AncestorTreeManager (assuming this is the path to the program folder)
and press Enter - Start the Uninstaller (this must be done as super user) with the command:
sudo sh Uninstaller.command
and press Enter - Enter the password and press Enter